Last week, I stumbled upon StabilityAI’s new Stable Diffusion XL 1.0 models. It’s been a few months since I’ve explored image generation models, and I must say, they’ve made incredible progress in a short span. One feature that captivates me is the ability to take one image and generate a similar yet distinct one from it. To delve into this further, I spent this weekend setting up an automatic workflow. This nuanced approach slightly deviates from a pure style transfer model. For instance, some of the original details—like unique facial features—might get obscured in the generated image. In this post, I’ll guide you through the steps to establish a functional workflow.
Here’s some quick background: the new SDXL models come in two parts—a base model and a refiner model. The base model can operate independently, generating an image on its own. The refiner adds the finishing touches to an almost complete base image.
Base model generated image prepped for the refiner model
Getting started is straightforward, thanks to many available frontends. I began with stable-diffusion-webui, which I found the easiest to use. Simply clone the repo, run the batch script, and navigate to the webpage that starts up. From there, enter your prompts and generate images.
The downside to this frontend is that it’s not very user-friendly for an img2img base + refiner workflow. There’s a lot of manual work: loading models, generating images, and restarting if you’re not happy with the output. Not to mention the idle time waiting for models to load—which I particularly dislike.
Fortunately, another option is ComfyUI. While more complex—thanks to its graph/node/flowchart base—it’s more efficient once you define a workflow.
ComfyUI
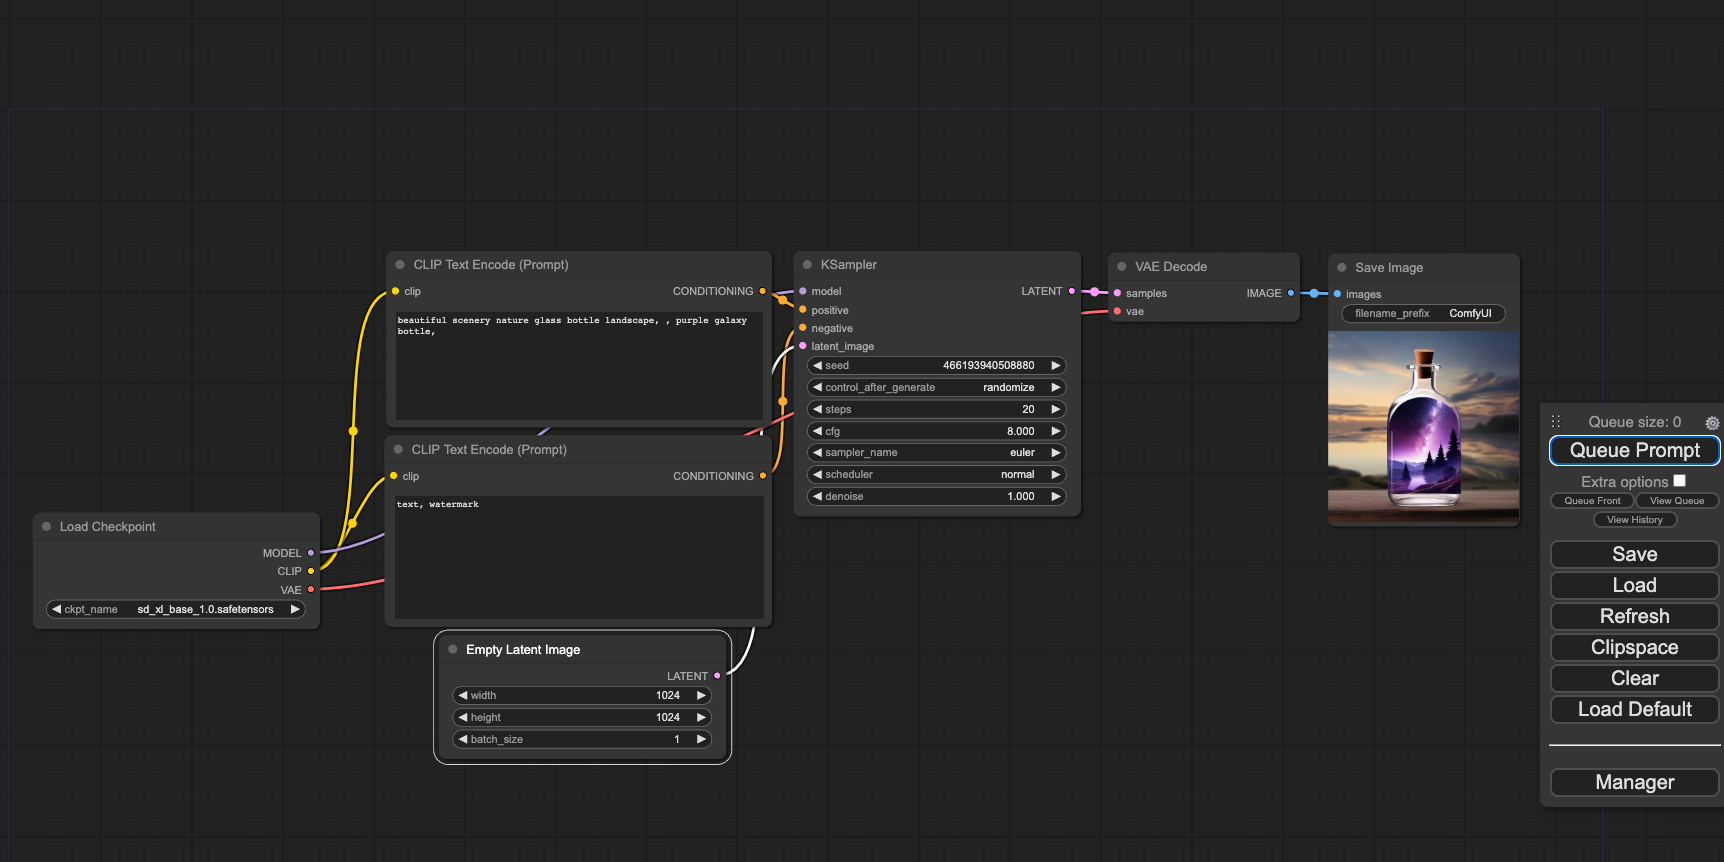
A key advantage of ComfyUI is that multiple models can be loaded simultaneously, with different sampler configurations for each. This eliminates the idle time spent switching between models. Almost all manual operations have also been automated, allowing more time to fine-tune settings rather than doing mindless tasks.
I built upon an example base + refiner workflow found
here. I modified the
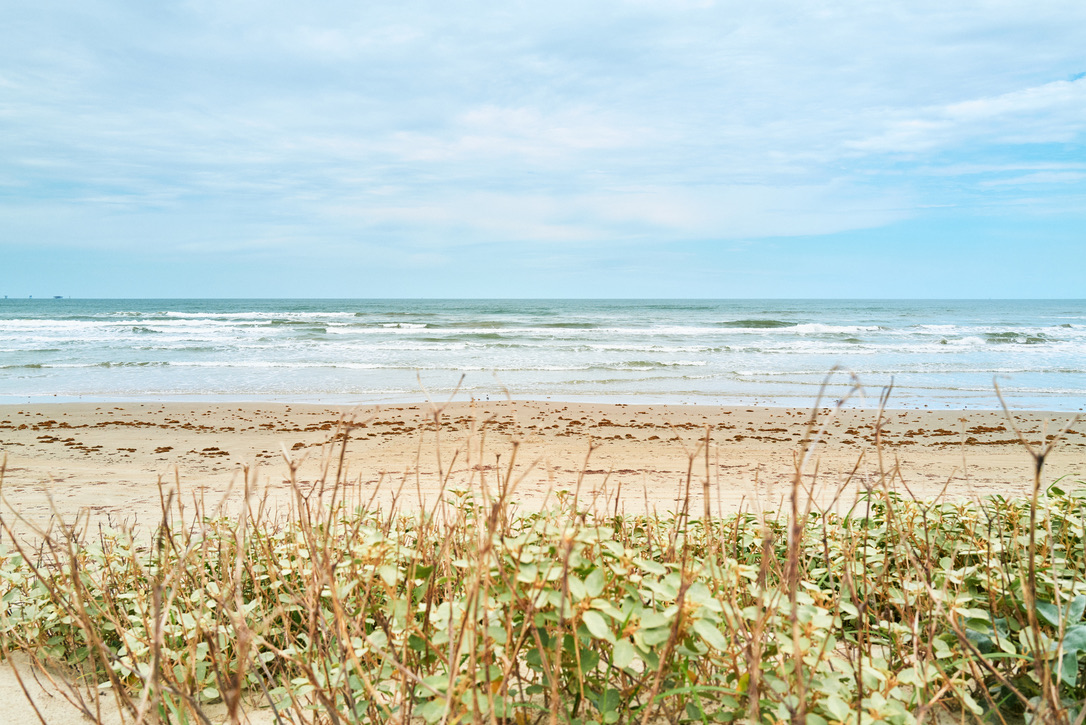
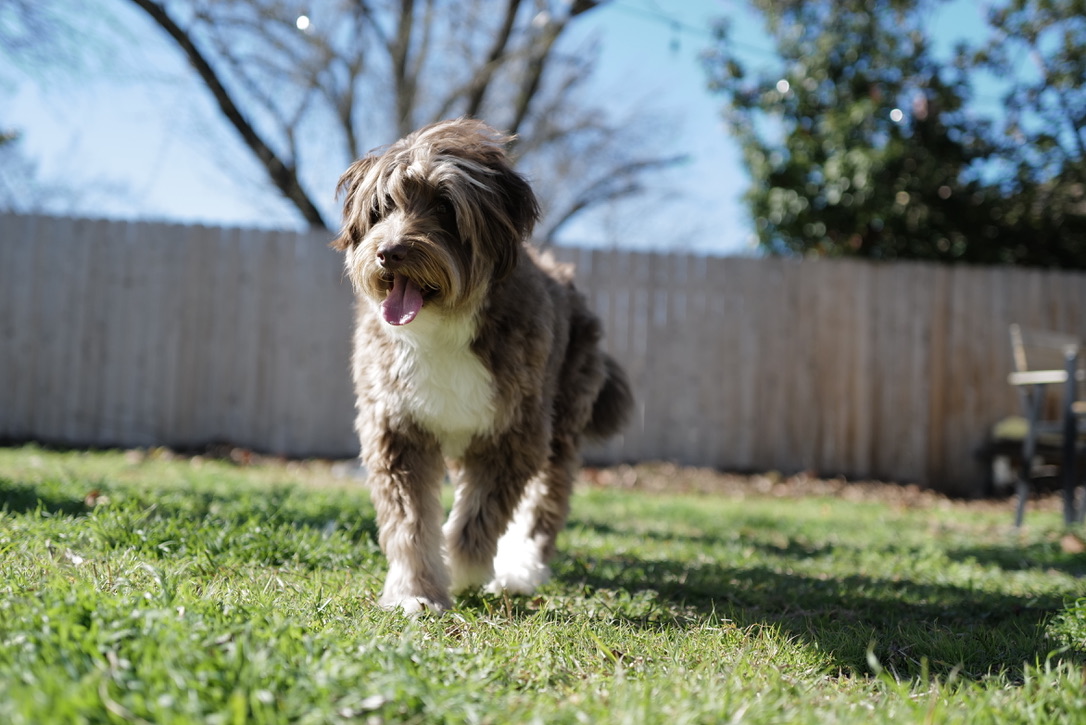
original from text2img to img2img, using an uploaded image
as the starting point. For preprocessing, I employed ImageScaleToTotalPixels
since SDXL works best with 1MP images. I also utilized
BLIP to automatically caption the image,
ensuring that the generated artwork retains resemblance to the original.
Final Img2Img Workflow
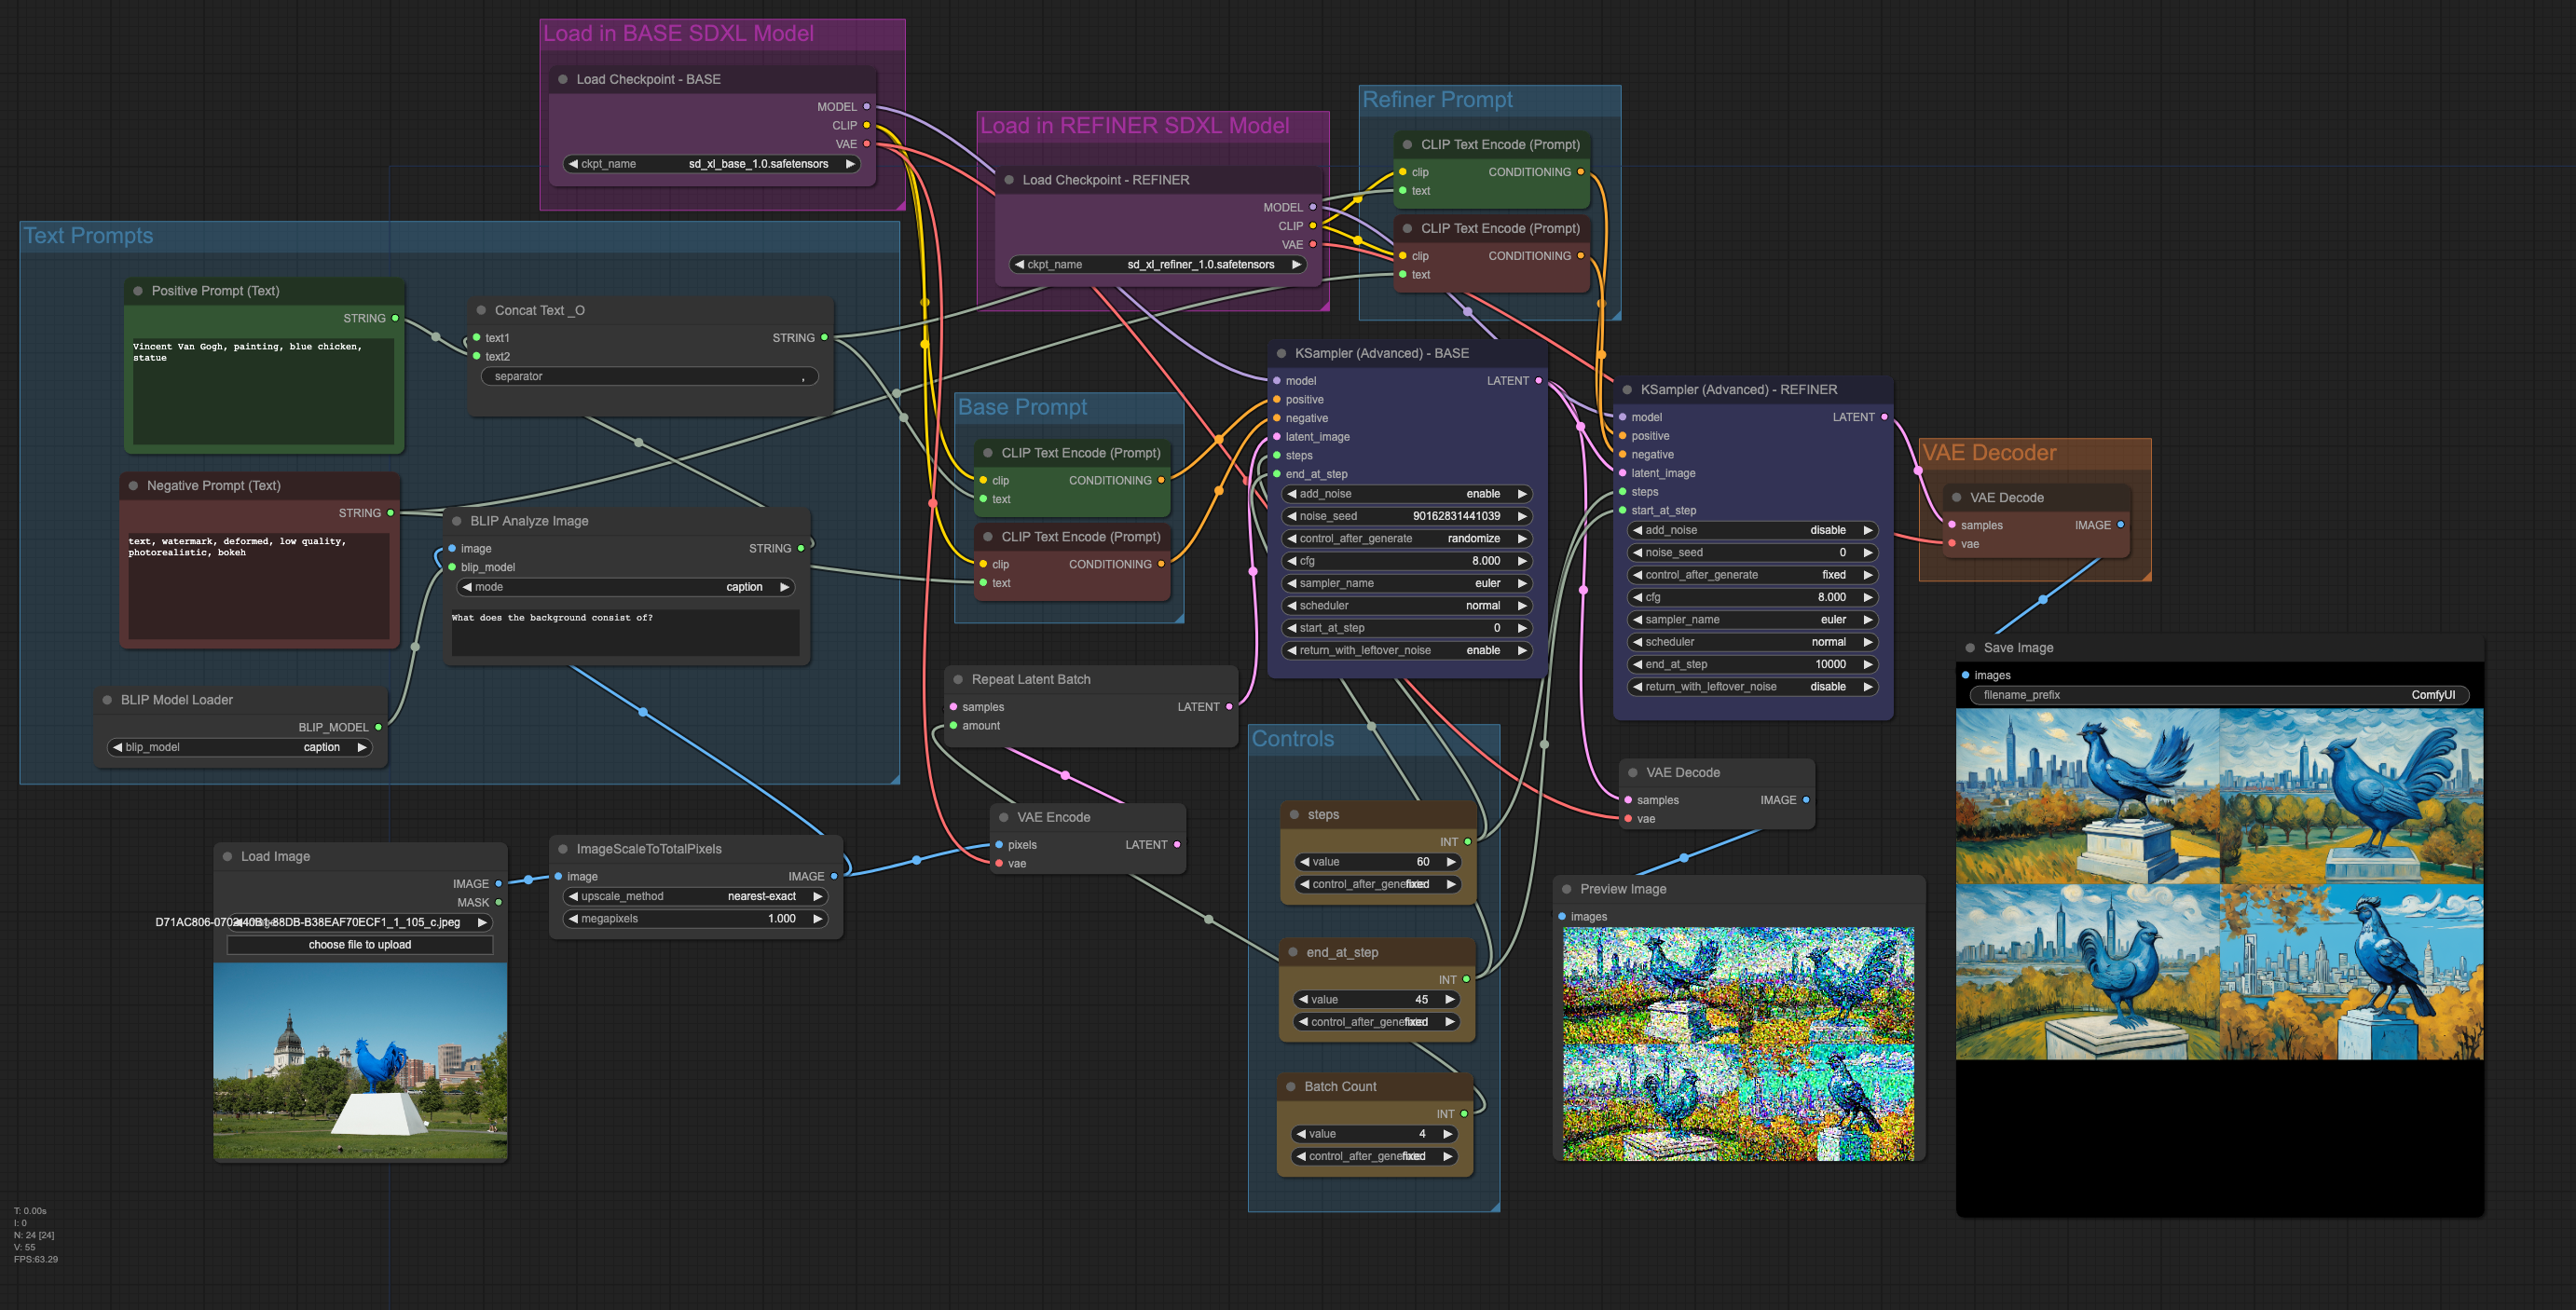
That’s it! I’m pleased with the workflow so far. However, I’ve noticed some issues with how some positive/negative attributes are applied. The next step is to better understand how to set attributes, integrate loopback and use prompt delays to better preserve the original image. At times I would like to preserve the original image as much as possible.
To try this workflow yourself, download or drag any of the generated images below into ComfyUI. Note that a few custom nodes are required: WAS Node Suite and Quality of life Suit:V2
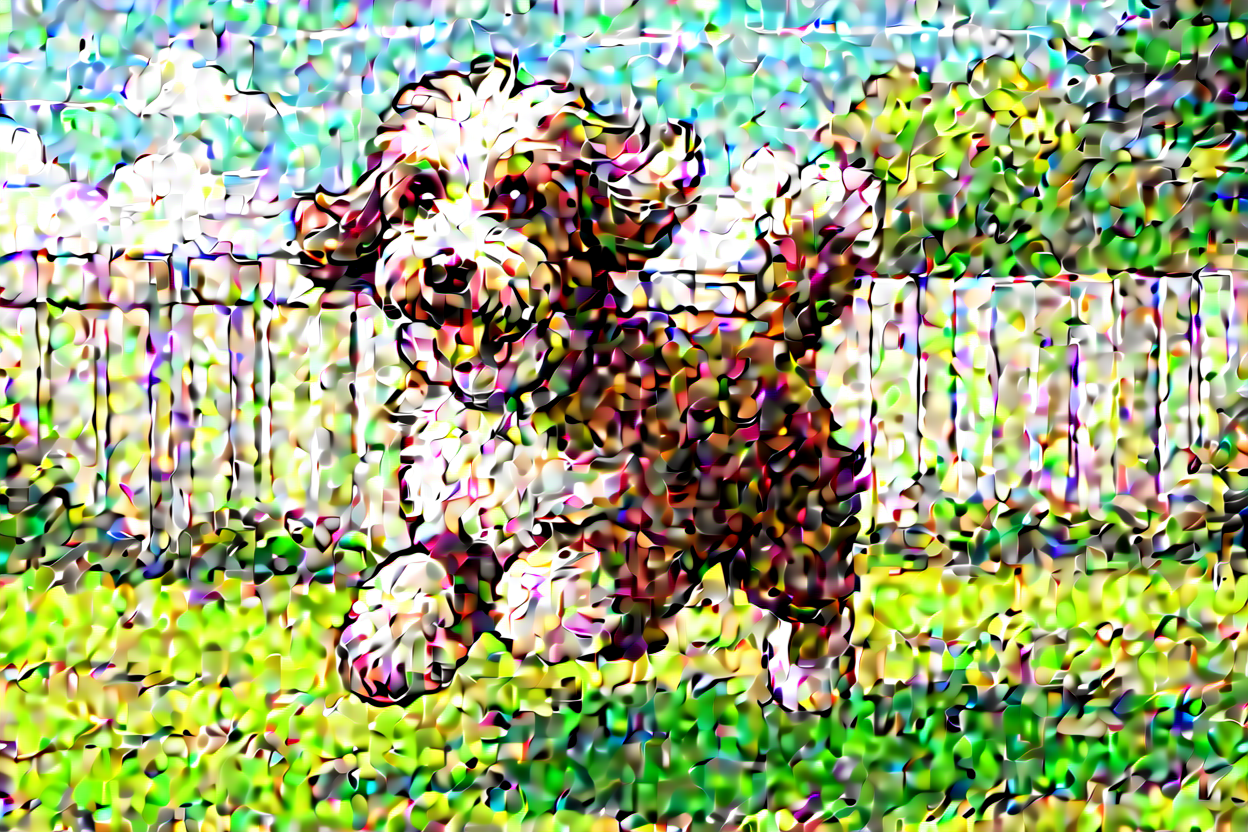
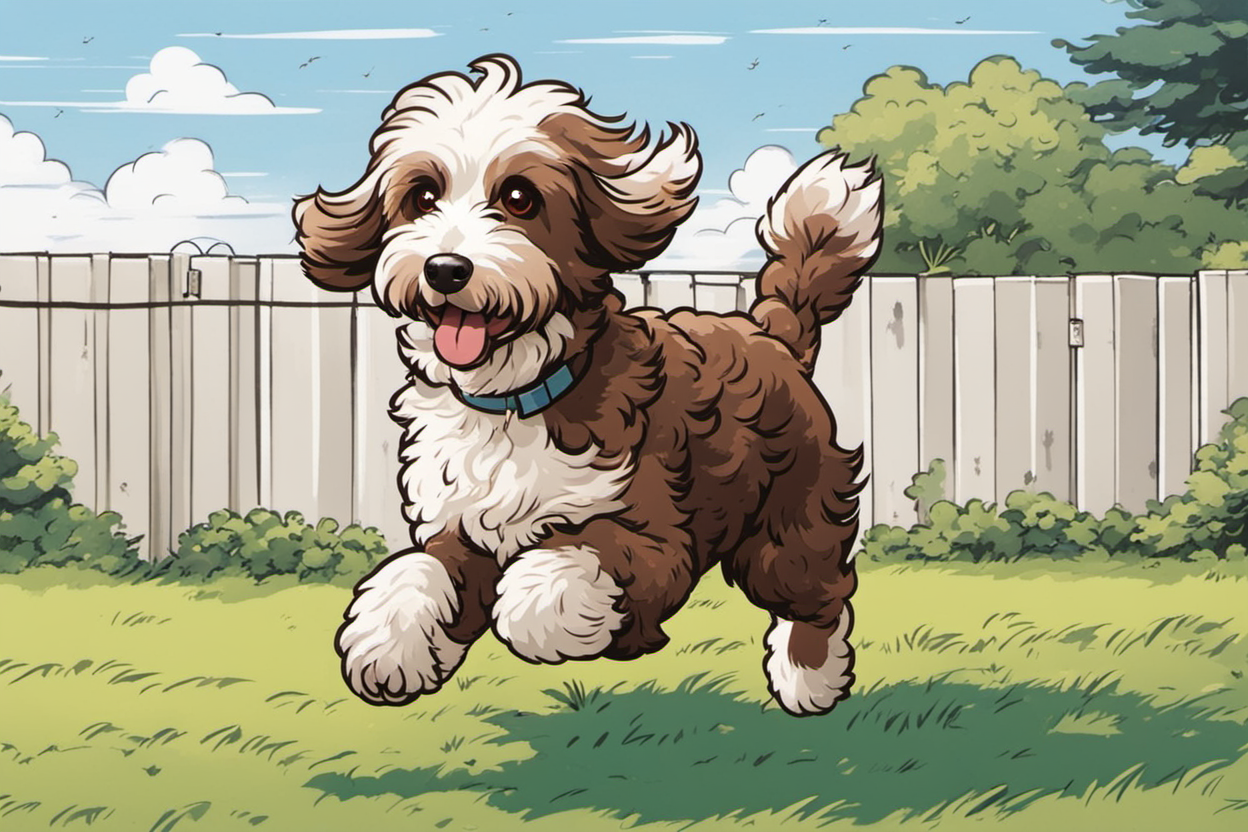
positive: anime artwork, 90s style, high-quality, brown aussiedoodle negative: text, watermark, deformed, low quality, photorealistic
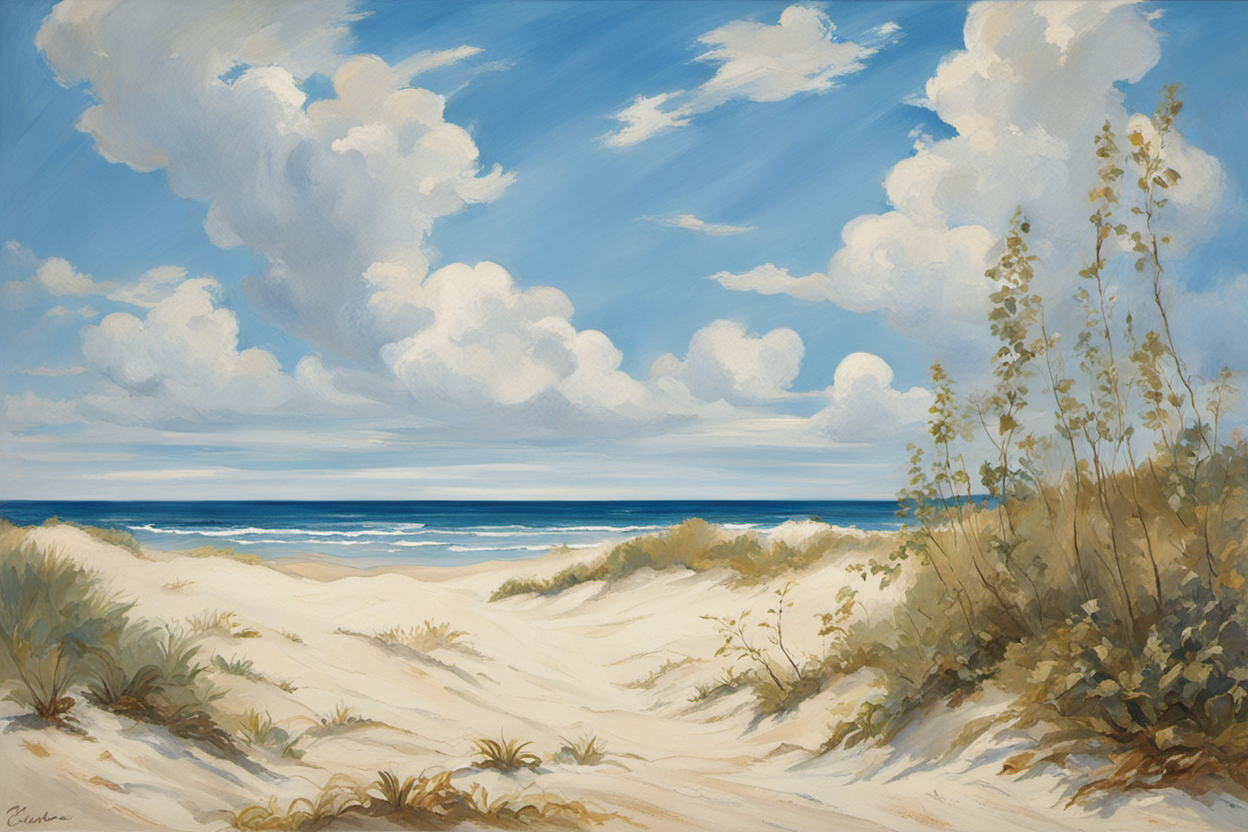
positive: classicism painting negative: text, watermark, deformed, low quality, photorealistic